The process most homeowners have not seen
Most homeowners who have never had a tile project done do not know what they should be watching for at each stage. They know they want the finished product. What happens in between is less clear.
Understanding the stages of a tile installation helps you have better conversations with your contractor, know when something is being skipped, and avoid the situations where a homeowner says “I had no idea they were not waterproofing the shower.”
Here is what a well-run tile project looks like in a San Diego home, from first call to finished floor.
Stage 1: site walkthrough and scope
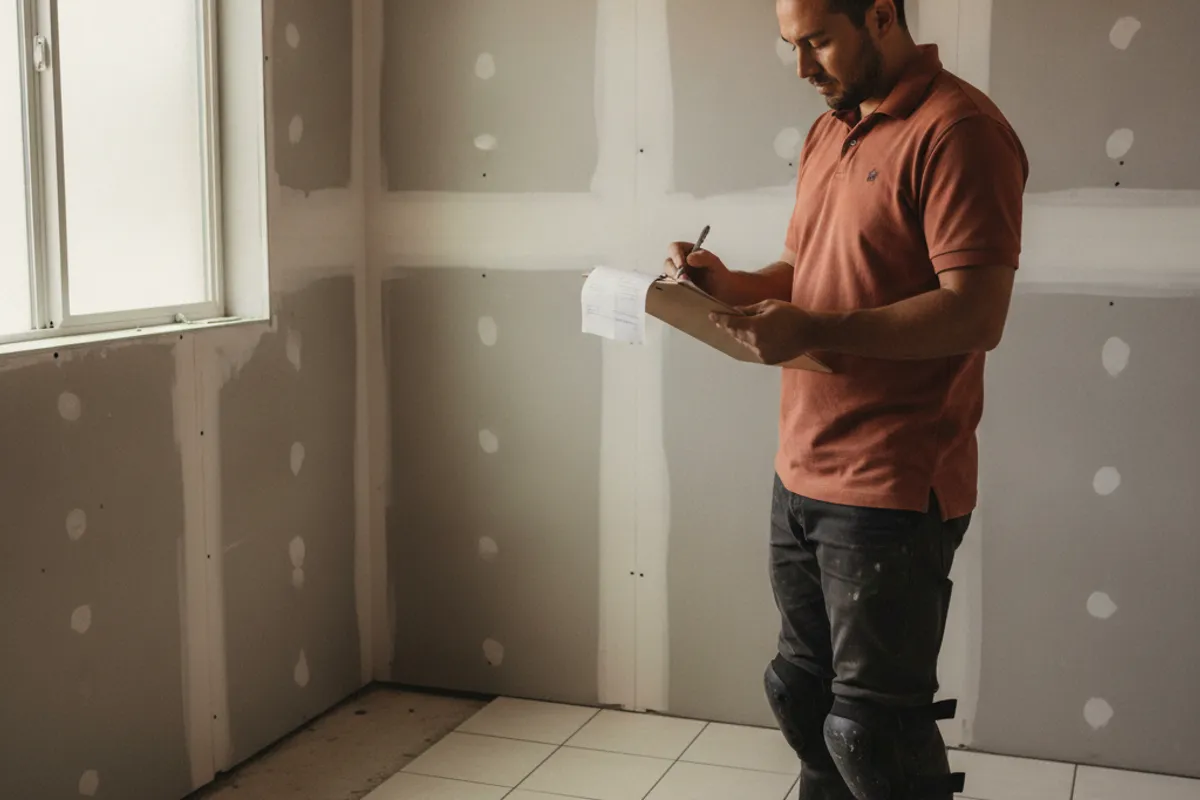
Before any tile is purchased or scheduled, a good tile contractor does a site walkthrough. They look at the substrate condition, measure the area accurately, note any obstacles (floor drains, heating registers, thresholds, transitions to adjacent flooring), and identify anything that might change the cost or timeline.
For a bathroom project, they should tap the existing tile or substrate to check for hollow sounds, look for evidence of moisture damage, ask about any history of leaks, and inspect the existing shower pan or waterproofing if the project involves a wet area.
This is when the written quote is developed. A contractor who quotes a bathroom tile project without walking the space is guessing on scope.
For outdoor projects in San Diego, the walkthrough should include checking the slab for cracks, assessing the drainage pattern, and noting whether the area has direct sun exposure that will affect the setting schedule.
Stage 2: material selection and ordering
Once the quote is accepted, tile is selected and ordered. Many San Diego homeowners shop at Floor and Decor in Kearny Mesa, Tile Shop locations, or independent tile suppliers in the county. Some tile contractors have trade accounts and can order on your behalf.
Lead times matter. Stock tile at a local supplier is available immediately. Special-order or imported tile can take 3-8 weeks. If a specific tile is integral to the project design, confirm availability before it becomes a schedule constraint.
Order 10-15% overage on top of the calculated square footage. Cuts produce waste, some tiles may be defective, and having spare material available for future repairs is worth the modest extra cost. For natural stone, order from the same lot: stone varies batch to batch, and a repair tile ordered later may not match.
Stage 3: demo (if applicable)
Removing existing tile, backer board, or flooring material is the first physical step on most renovation projects. For a bathroom floor, demo means removing the existing tile and any backer board, then inspecting the subfloor or slab underneath.
What gets discovered during demo is sometimes a surprise. In pre-1990 San Diego homes, the original backer material may be paper-faced gypsum drywall (in a shower, not a safe substrate) or a failing hot-mop pan. A rotted section of plywood subfloor in a bathroom with a history of slow leaks. A slab crack that was not visible before.
A good contractor communicates discoveries promptly and in writing. The cost to repair a subfloor section or replace backer board should be quoted as a change order before work continues, not added to the final invoice without prior approval.
Demo debris is heavy. Confirm that haul-away is included in the quote. Tile debris cannot go in a standard residential trash can, and a dumpster rental adds $300-$600 to the project cost if it is not included.
Stage 4: substrate preparation
Once the existing material is removed, the substrate has to be ready for tile:
- Concrete slab: clean, flat to within 1/8 inch over 10 feet (tighter for large-format tile), no loose material
- Wood subfloor: checked for deflection (too much bounce means tile will crack), reinforced if needed, covered with cement board screwed to the joists
- Shower walls: cement board or foam board installed, taped, and waterproofed
For projects on San Diego slabs with visible cracks, this is the stage where crack isolation membrane goes down. See the crack isolation guide for what that involves.
For shower projects, waterproofing happens here: membrane applied to all wet surfaces, corners taped, drain connection sealed, flood test held for 24 hours. This stage is not visible once tile is set, which is why it is the stage most subject to shortcuts on cost-cutting projects.
Stage 5: layout planning
Before the first tile is set, the crew should snap chalk lines and do a dry layout. This determines where the tile pattern starts, how cuts at the perimeter will look, and whether the layout is centered or wall-aligned. A good layout puts any cuts in inconspicuous locations (behind a toilet, inside a cabinet, at the baseboard edge) rather than in the middle of the most visible wall.
For patterned tile (herringbone, diagonal, offset), layout planning takes longer and is more consequential. The time spent planning here reduces wasted tile and rework later.
Stage 6: setting tile
Thinset is spread on the substrate (and often back-buttered on the tile as well, particularly for large-format or natural stone tile), tile is set with appropriate spacers, and the surface is checked with a level or straightedge as each section is completed.
Setting tile is where most of the visible craft is. A skilled installer works quickly without sacrificing flatness and alignment. The work should look consistent: even joint widths, no lippage, tiles flat to each other and to the plane.
Wet-area tile (shower walls, shower floor) should be set only after the waterproofing membrane has fully cured per the manufacturer’s specification. Rushing this step is a common shortcut on compressed schedules.
Stage 7: thinset cure
After tile is set, thinset needs to cure before grouting. Minimum 16-24 hours for standard polymer-modified thinset. In humid conditions or on large outdoor projects, 24-48 hours is more appropriate. Walking on the tile during cure (unavoidable on a floor) is fine; putting weight on the grout lines with pointed loads (a ladder leg, a tool box) can push tiles out of level.
Do not rush this step. Grout applied over uncured thinset can depress into the joint as the thinset cures under it, creating low spots in the grout that collect water.
Stage 8: grouting
Grout is mixed to the manufacturer’s specification and applied with a float across the tile surface, forced into the joints, and excess wiped off in stages. For floor tile, this typically means working in sections of 20-30 square feet.
Grout haze needs to be removed before it sets fully. A second cleaning pass with clean water removes remaining haze. Rough-textured or matte tile (unglazed porcelain, natural stone) may require a grout haze remover product to clean up fully.
Transitions between tile planes (floor to wall, tile to different flooring) and inside corners in a shower should be caulked, not grouted. The caulk allows for movement between planes. Grouting corners is a common shortcut that leads to cracking within a year.
Stage 9: final cleanup and walk-through
The crew should clean the tile, reinstall outlet covers and hardware, and do a walk-through with the homeowner before calling the project complete. Walk the floor and look for: grout joints that are not filled, any low spots or lippage that is noticeable, tiles that sound hollow when tapped (rare but worth checking), and caulk applied neatly at all transitions.
Most tile contractors apply grout sealer as part of the project closeout on cement grout. Epoxy grout does not need sealing.
Call (858) 925-5546 to get connected with an insured tile crew in San Diego County who follows this process. For bathroom projects, see the shower and bath tile service. For a realistic look at what each stage costs, see the tile installation cost guide.
What is the most important step in a tile installation?
Substrate preparation and waterproofing. These are invisible once tile is set, which is why they are most often skipped on rushed or low-budget projects. They are also the steps that determine whether the tile lasts ten years or fails in two.
What should I do if I find problems during the tile project?
Ask for a written change order before any additional work is done. Any substrate repair, unexpected demo, or material substitution should be quoted and approved before the crew proceeds. Verbal approvals during a project are the source of most end-of-project billing disputes.
How long after tile installation should I wait before using the bathroom?
Light foot traffic on the floor is typically possible 24 hours after grouting. Normal use including a shower is safe 48-72 hours after grouting. Grout should cure for 28 days before applying a penetrating sealer for maximum effectiveness.